
Part 2 of 2
I wrote this tutorial for my classmates that never had used GitHub or any version control before. So it is done on a basic level and I have purposely left out details to make it easier to get started. If you are new to version control and Git I recommend you to read up on the subject, learn to understand what, why, and how. When I first started with Git our teacher only let us use the terminal to learn the commands, and really understand the process. Today I still prefer to use the terminal but it also makes it easier to use a GUI when we know what happens “under the hood”. First part can be found here: Link to the first part
Clone a project
We will go thru the basics of git commands to create a file path on our local computer. The next step is to clone a project from GitHub. And then add a file and commit this back to GitHub.
First, we need to create a place on our computer where we want to store our project folder. (This is the same as you would go to file explorer and select create new folder).
- Open your terminal (Git bash, iTerm, cmder or whatever you prefer to use)
- Go to root (as close to the hard drive we can put our directory)

- Use cd .. to step back down closer to root so you get here:

Now we are going to create a new folder called workspace, it is good to have a folder we always use for our projects, so we easy remember the path.
We use the command mkdir workspace
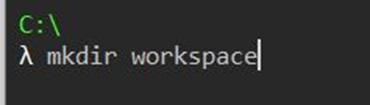
What we did here: We created a folder on our local computer where we can add projects:
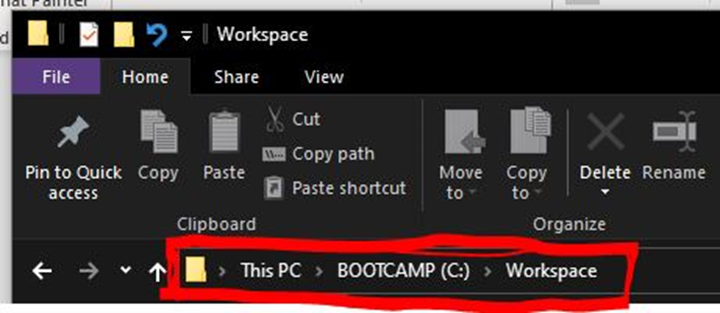
- Now we need to step into our newly created folder (same as click to open folder in file explorer) We do this by using the command:
cd workspace
In the first part of this tutorial we learned how to create a GitHub
repository for our project, and we need to go to GitHub and download it to our computer (we clone the project)
- Go to the gitHub page where you created the project in the first tutorial.
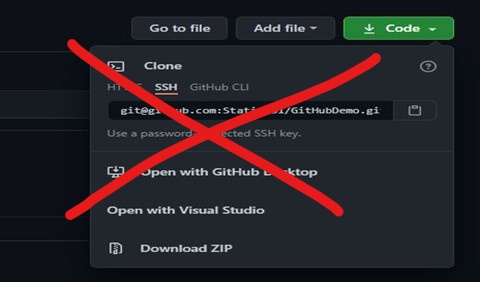
This next part has changed at GitHub since I made the tutorial, but I will leave the old one here to not cause confusion. So jump down below this picture and continue.
Here we click on the green Code button, make sure SSH is selected and click copy link:
Here we click on the green Code button, make select GitHub CLI, and click copy link:
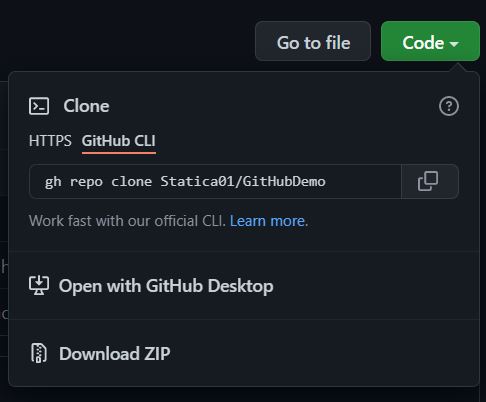
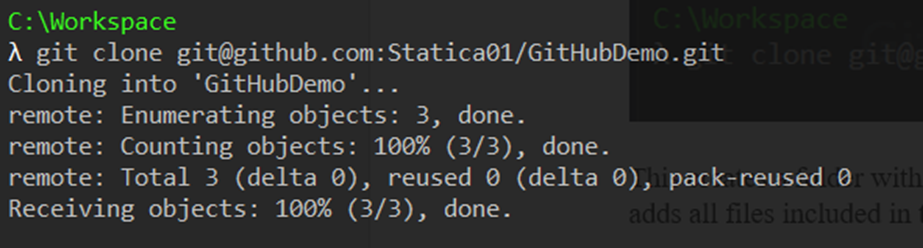
Then copy/paste the link in our terminal:
This creates a folder with the name GitHubDemo in our workspace folder. And then it adds all files included in the project from GitHub. So, we have now copied the project and everything that have happened on GitHub down to our own computer.
It should look like this:
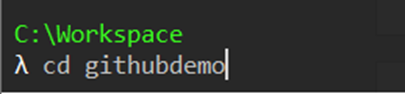
Now we want to open and step into the folder we just downloaded (cloned) by using the command: cd githubdemo
When we do this, we will be standing in the main branch:

This branch is the project’s main, master, head -branch. This could be described as the branch where we only put code, files that are done and confirmed to work as we want to. We never work in this branch directly. This branch should be seen as a “backup” branch where we always can go back and be sure that the code works and if we somehow lose our own code, we can clone this branch and get back to work.
So instead, we need to create our own branch:
- Since we haven´t created any branch for this project we will do that right away and with this command below we create the branch and step into it to make it our active branch:
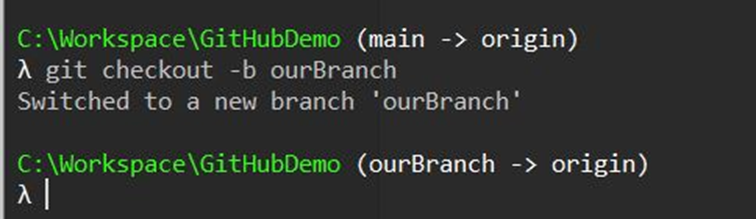
we use the command: git checkout -b ourBranch
As we can see the directory is now changed to ourBranch -> origin
- If we already have a branch, we just use the command:
Git branch ourBranch (without the -b)
Git checkout ourBranch (without the -b)
- If we are unsure if we created a branch earlier or not, we could check this by using the command:
Git branch
this will give us a list of all branches that are connected to our project.
Now we are done and can start working on our project.
We can see that our colleague has already create two .java files. One is main.java:

And the other is PrintHelloworld.java:

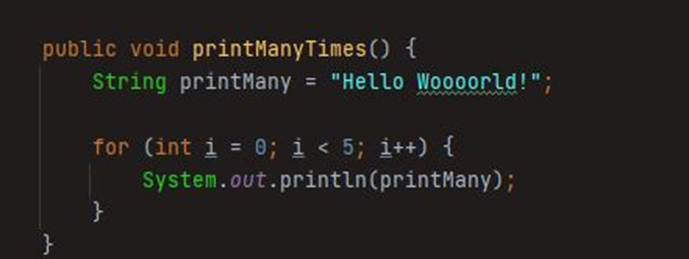
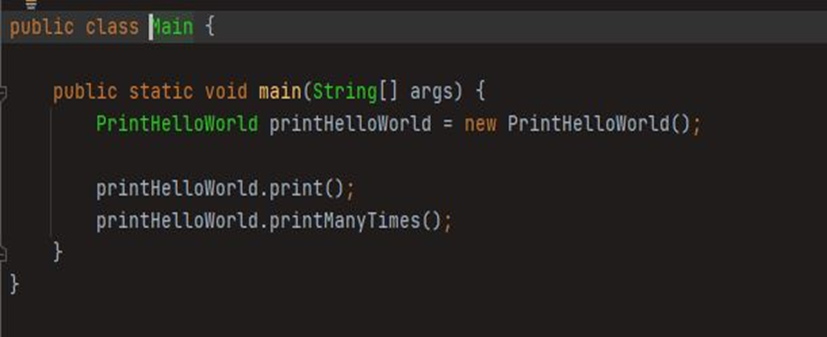
Our work task is to add another method that print HelloWorld many times instead of just one.
- So, we go to the PrintHelloWorld.java file and we add this code:
And after we created our method, we need to call it from our main class to get it to run:
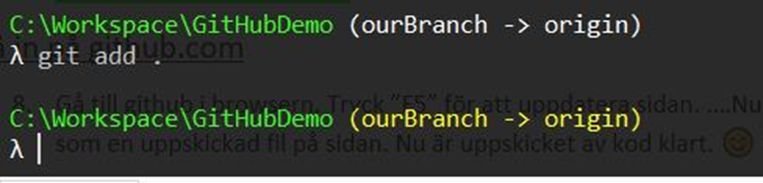
We made our changes, and we want to get this code up to GitHub.
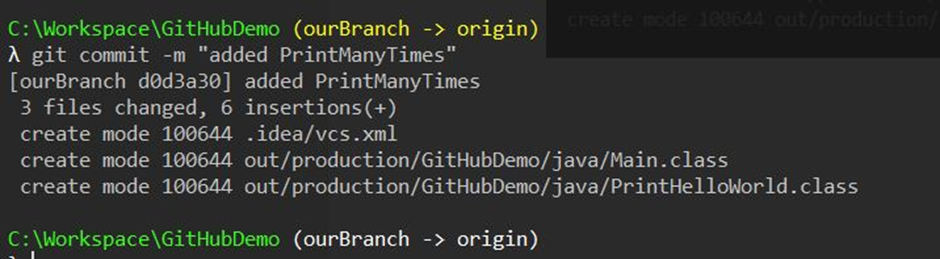
Now our changes are registered and ready to be committed to Git. We do this by adding the command git commit -m “added PrintManyTimes” (or whatever you wanna call it), remember to give the commit a good descriptive name that tells what we been doing with the files. Also, a reminder to commit often and don´t let too many files be committed at the same time. This for two reasons: One, it is easier to see the changes and put good descriptions. Two, in case of merge conflicts it is easier to solve when not have to go thru tons of code at ones.
To check all commits that have been made we use git log:

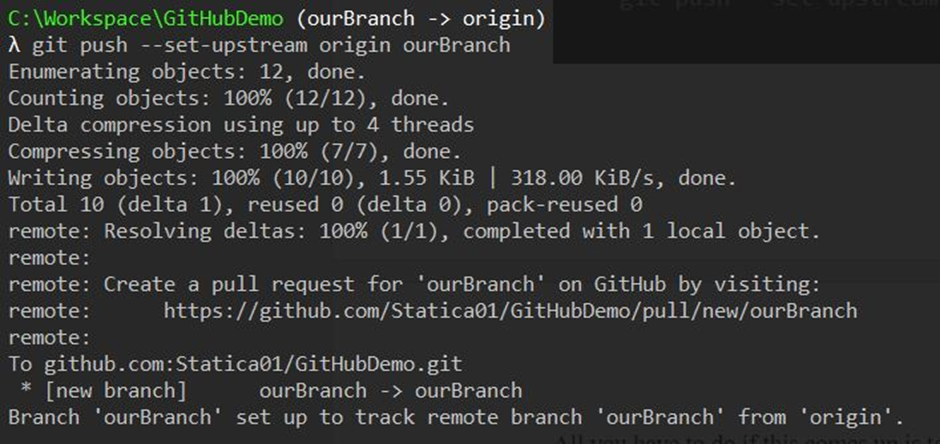
- We also need to push this up to git. Right now, it is kind of only stored in a outgoing line with a title, waiting for our next order of what to do. We do that by using git push
If we haven´t created a remote branch (the branch that is connected to Git, not our local branch that only is used for our changes on our own computer. These branches have the same name so can be confusing in the beginning but it is just like working offline and online) we might get this message:
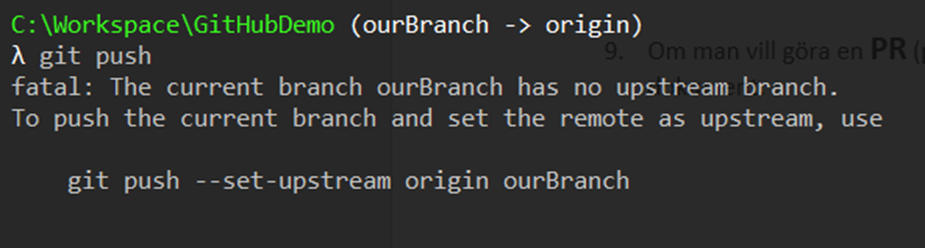
All we have to do if this comes up is to add:
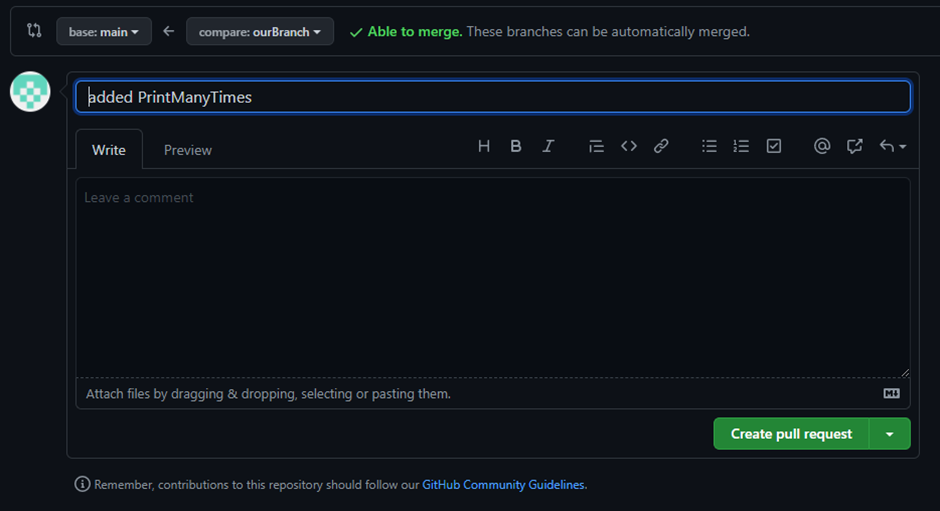
Now we go to our GitHub page and refresh the window. We will see that it is updated:

- Click the Compare & Pull Request button.
Now we want to merge this to our main branch. We do that by clicking the button in the right down corner:
And then we just merge them together:
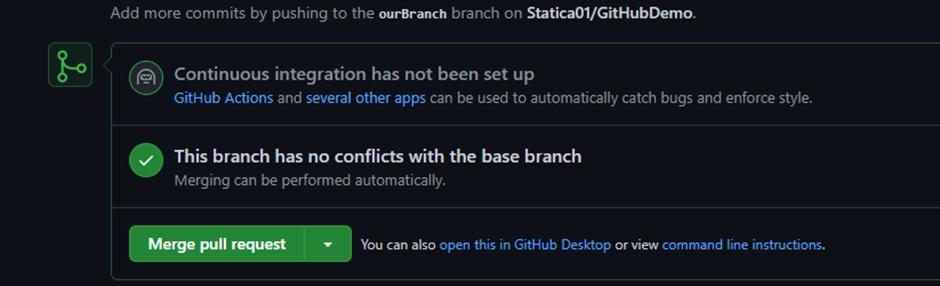
And we are done. Now our colleague can get access to our changes and work continue.
This was the second and last part of the tutorial. The code used can be seen at my GitHub Here
Don´t hesitate to send me a message if you have any questions, we all have been new to this once and I will help out if I can.
A site that gives a great hands-on learning for git: Learn git branching